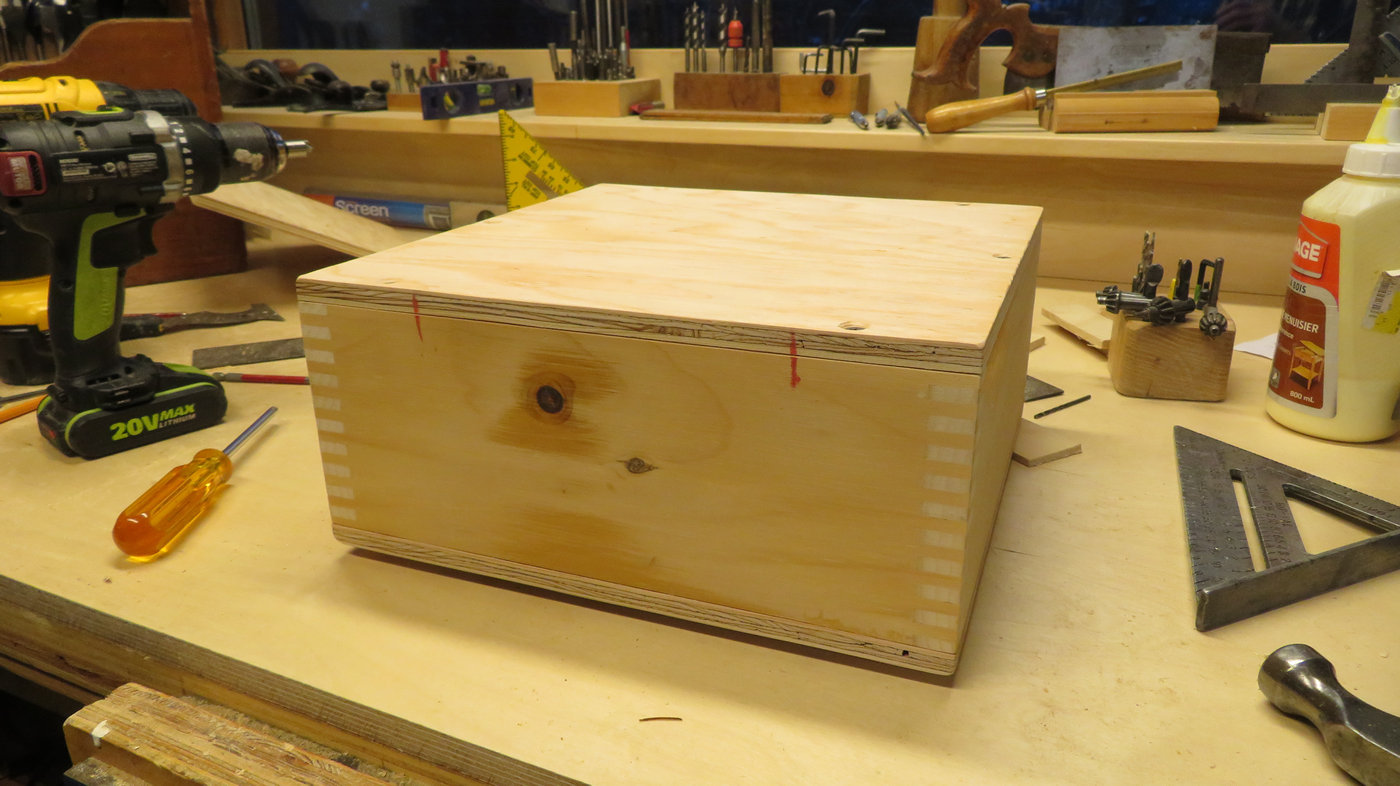
When I sent my 1969 Triumph 650 motorcycle's cylinder head off for reconditioning I wanted to provide it with plenty of protection during shipping. My solution was to make a wooden shipping box.
To make a strong shipping box I elected to use box joints on the corners. Making precision box joints is a perfect application for using a jig and a table saw sled. It took a bit of time to make the jig, but once completed it became available for other projects as well.
In addition to the shipping box I also made a small box joint case to house two small drawers I had made many years ago for another project and wound up not using.
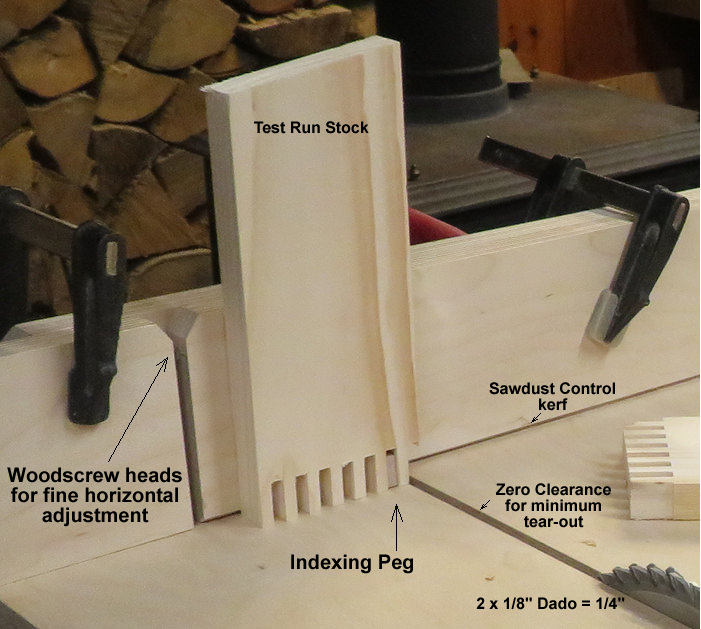
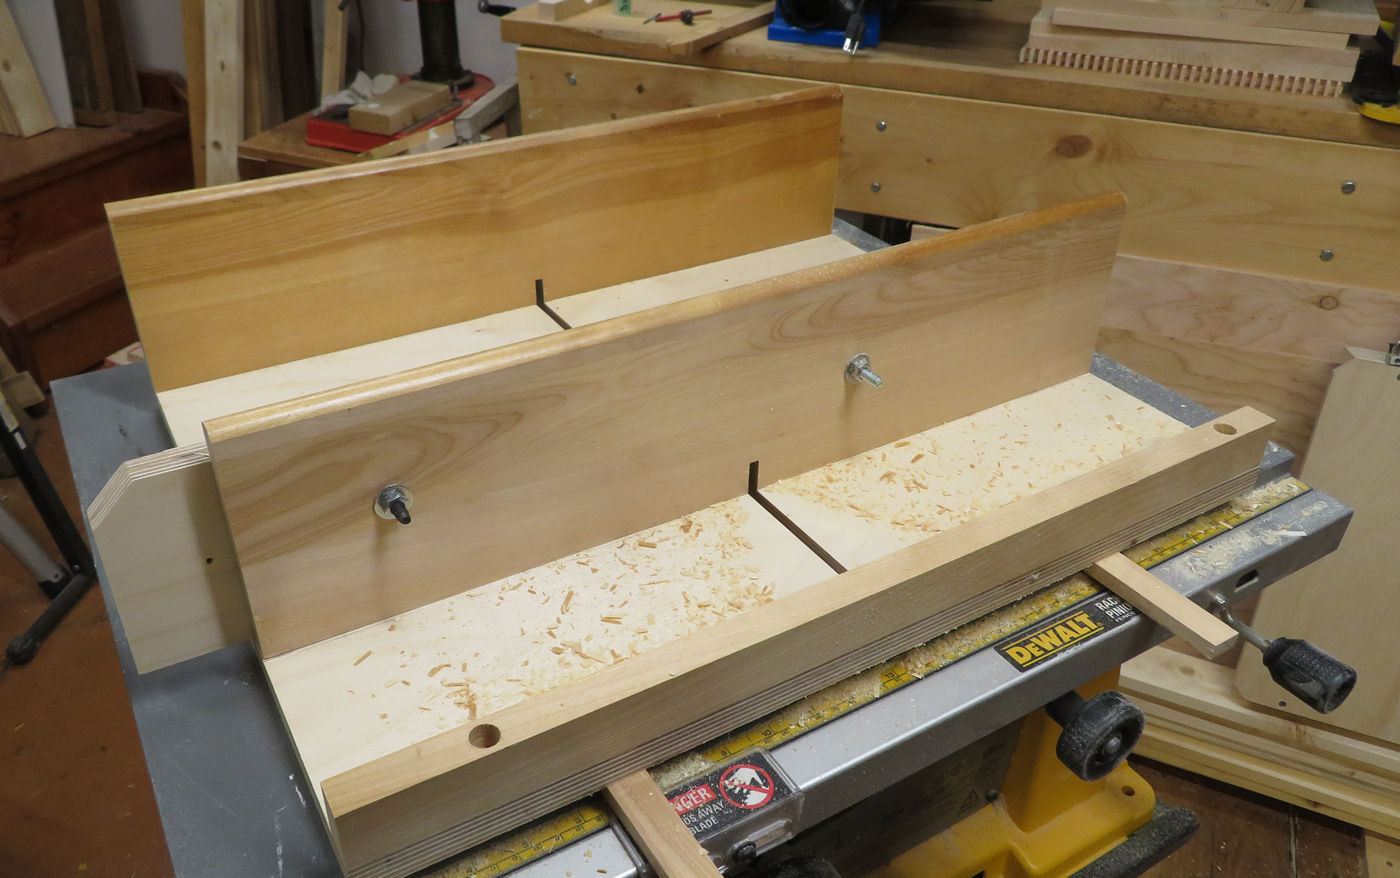
As shown below, the box joint jig consists of two blocks of wood clamped to the rear fence of a table saw sled. The large block to right includes the all-important index, or locator peg. The smaller block to left is fixed and used to make tiny horizontal adjustments to the large block and index peg.
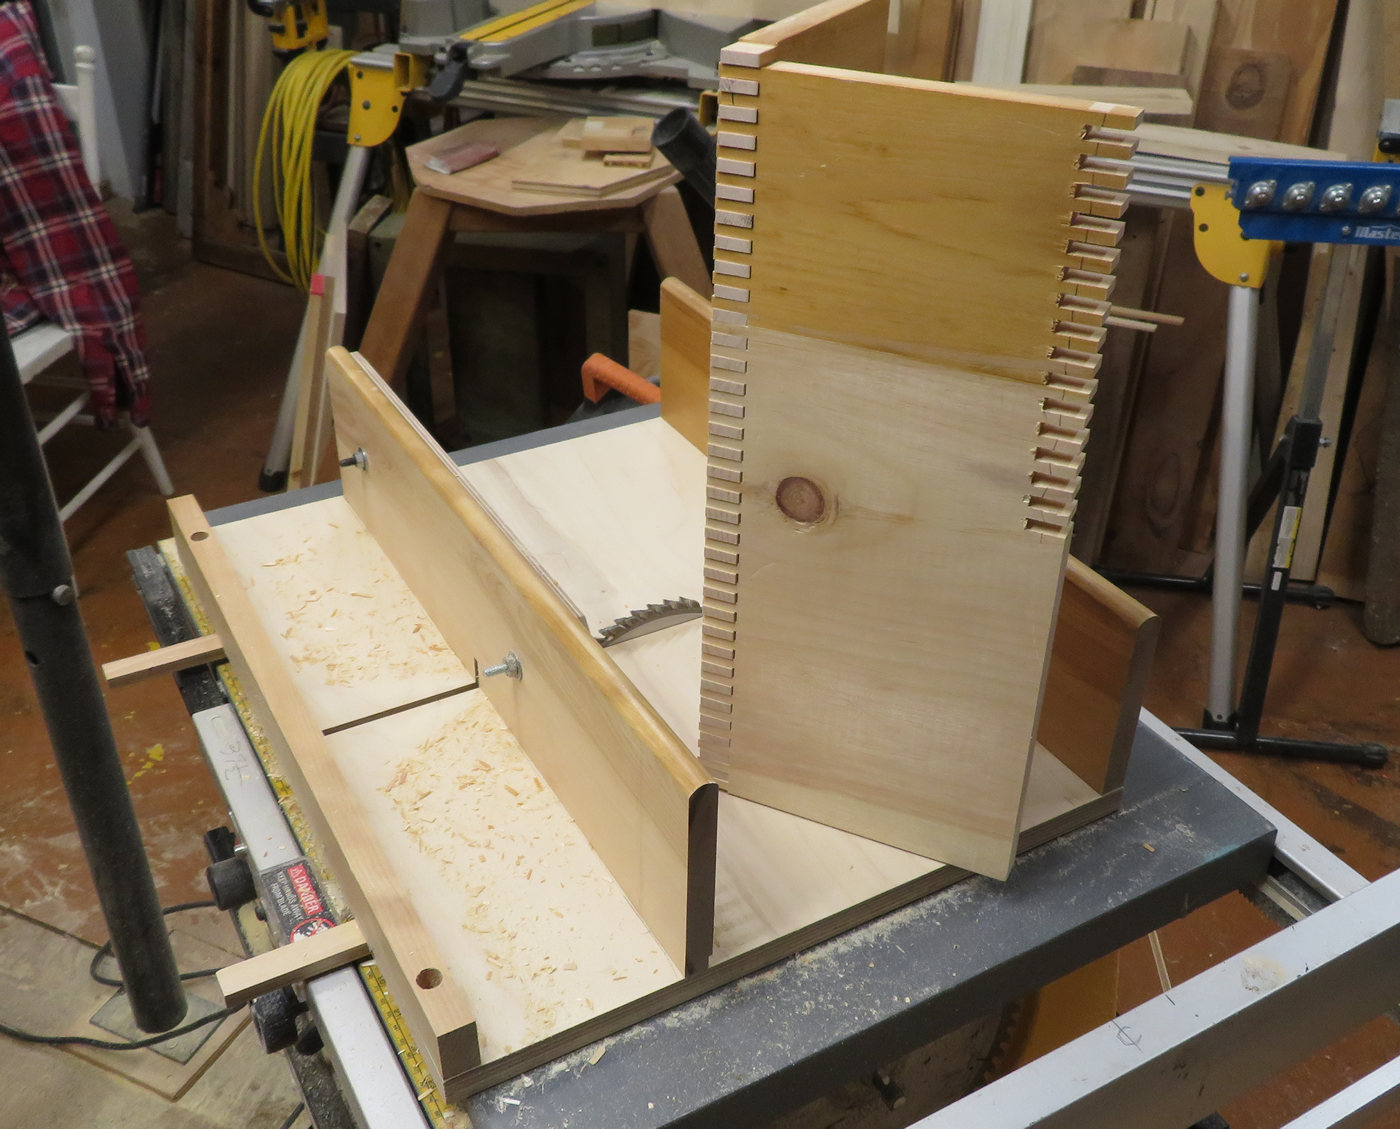
A work piece is represented by the vertical board with box joints at the bottom. You can just make out the index peg in the right-most box joint of the work piece.
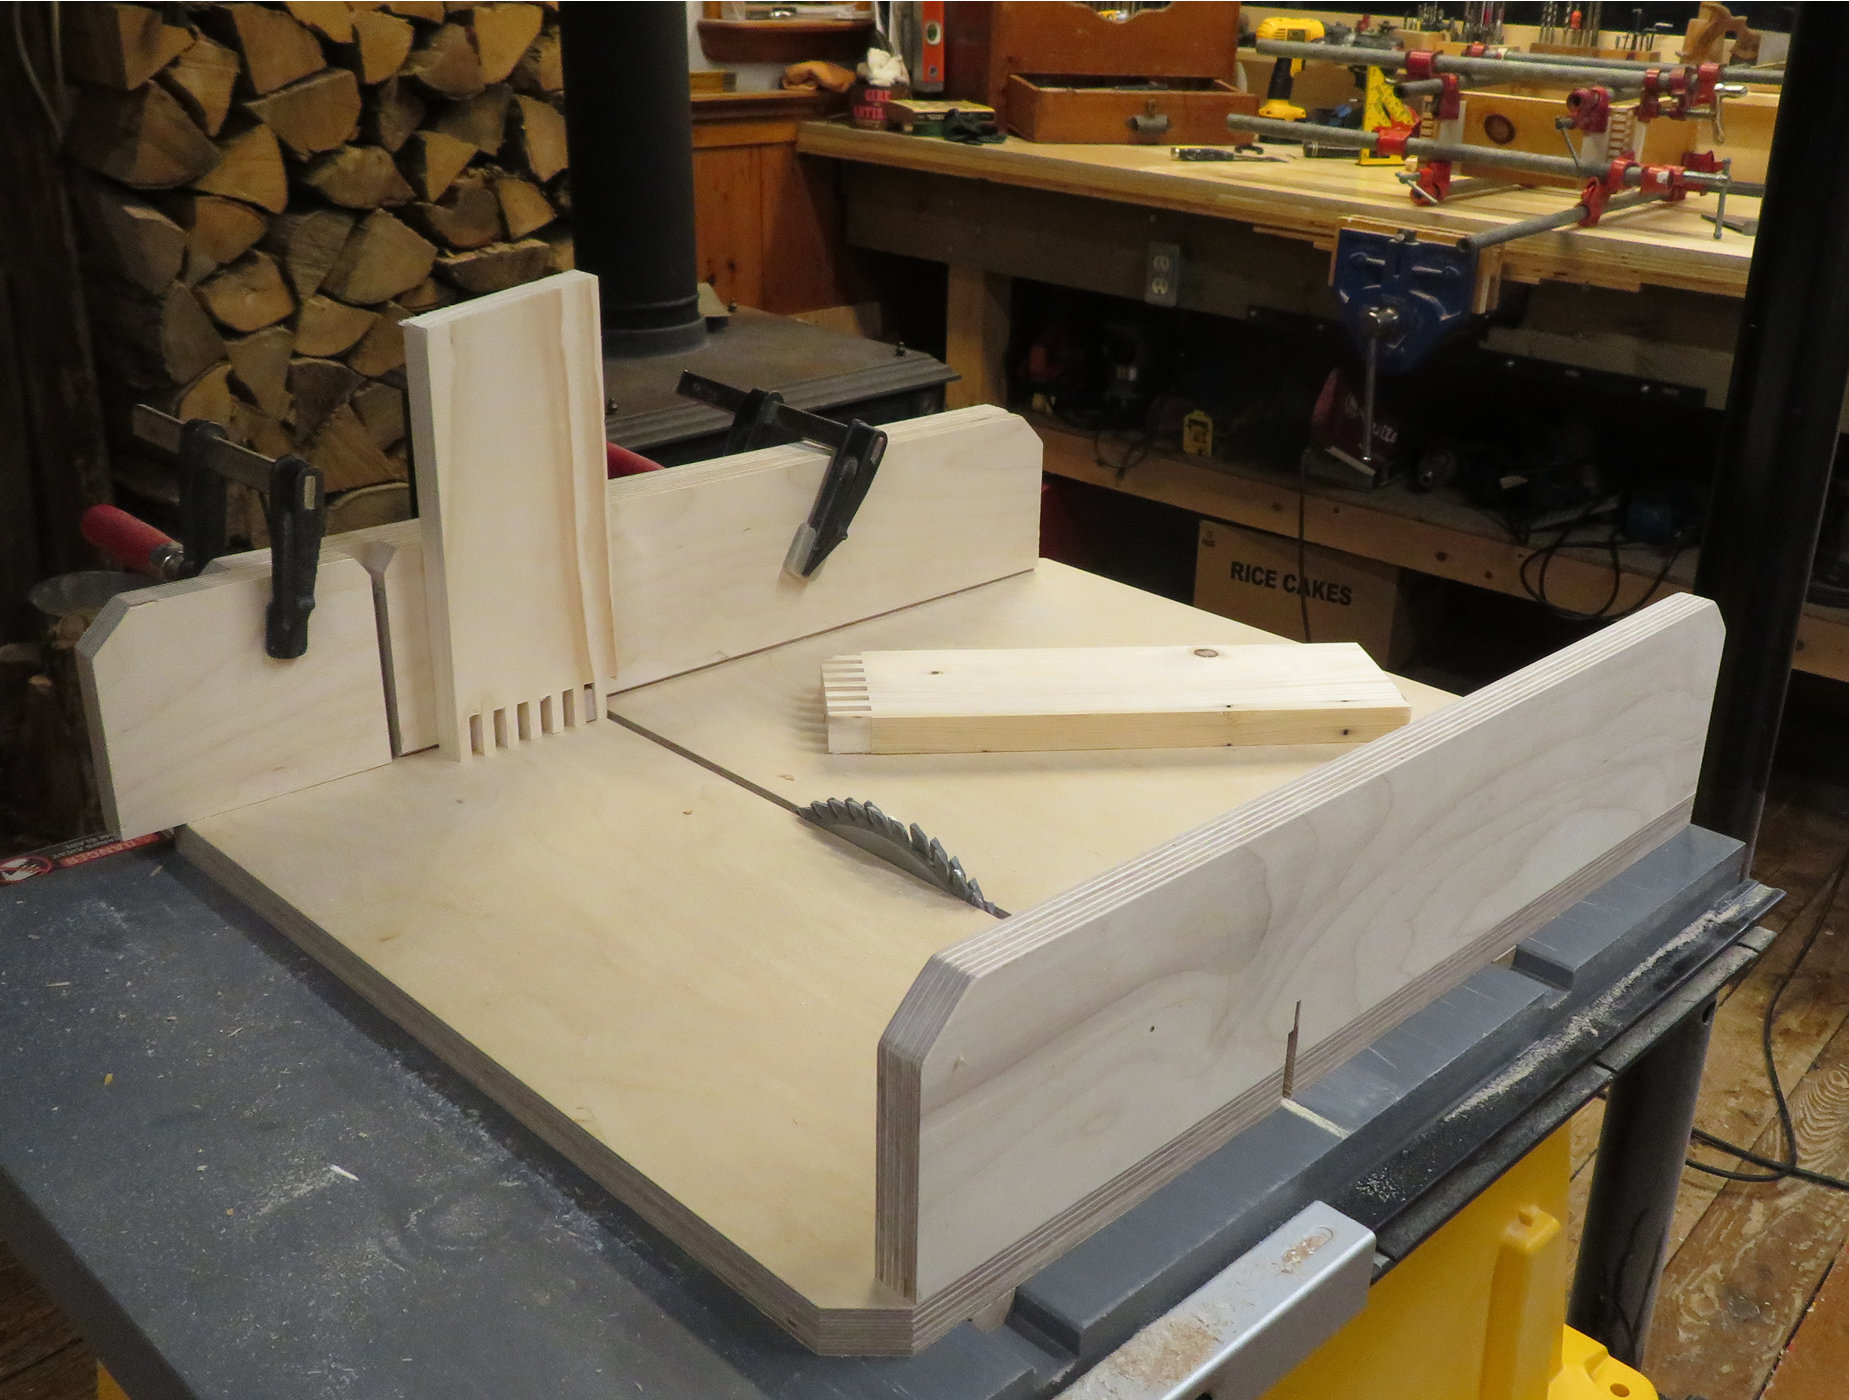
Below, the locating peg is seen clearly just in front of the saw blade. Each previously-cut box joint on the work piece is placed over the locating peg in order to precisely line up the cut for the next joint. Simple. Elegant.
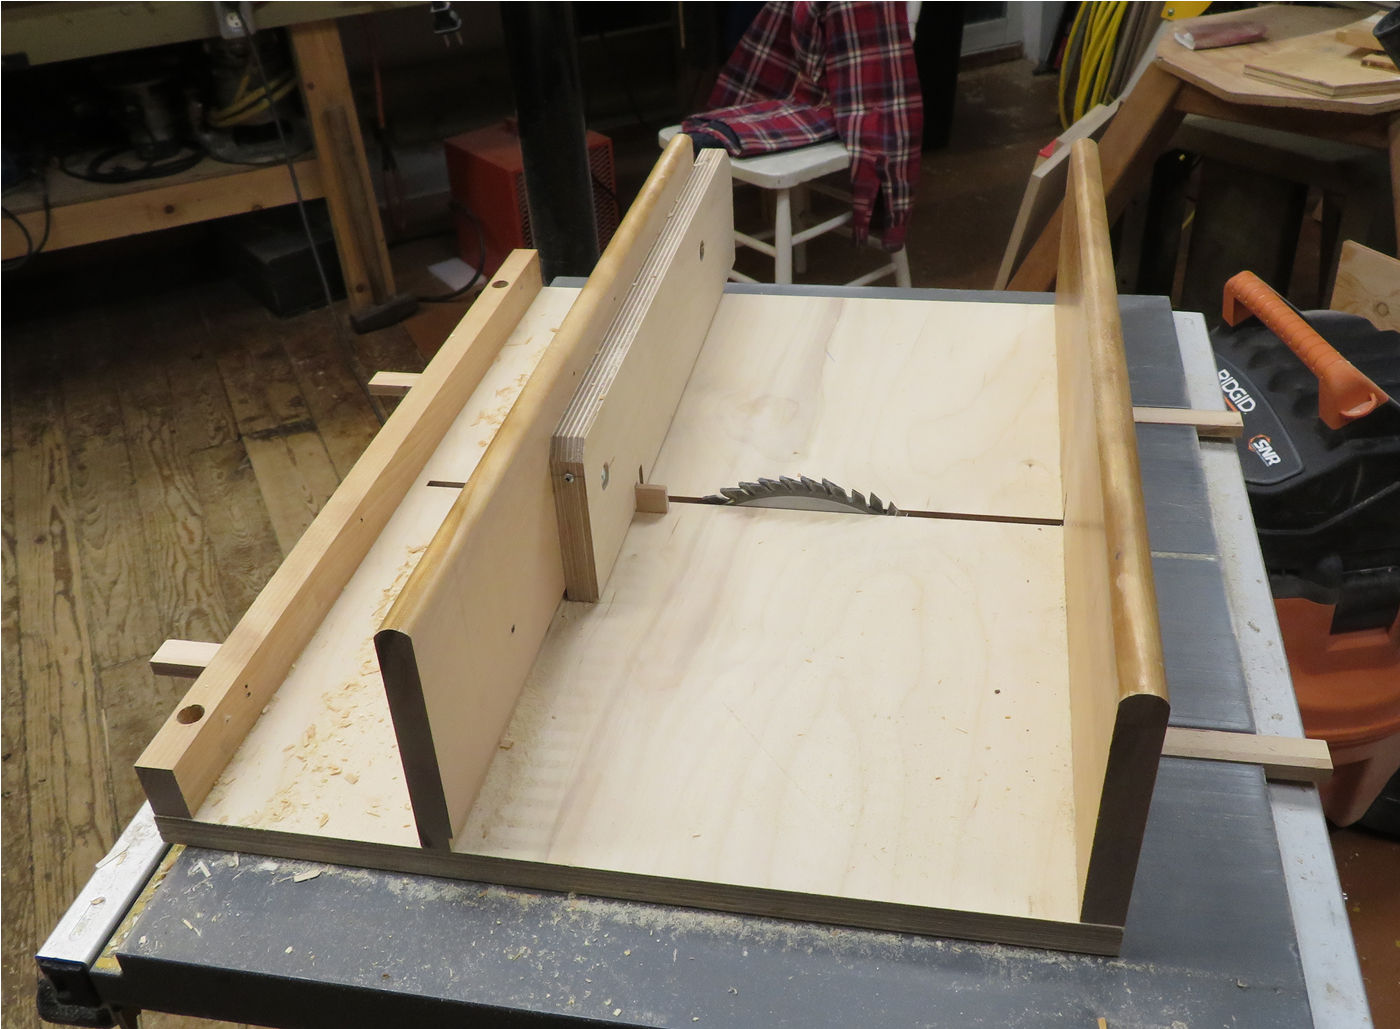
In this photo you can see the indexing peg. When making box joints, each new cut gets moved over onto the index peg so as to position it for the next cut.
Adjustment to the spacing of the box joints is accomplished by loosening the large board's clamp and sliding it and the indexing peg left or right. The necessary fine precision of the horizontal adjustment is created by two screw heads bearing against each other. After making the tiniest of adjustments to a screw, the adjustible block and its peg are placed back in contact with the adjustment block and then re-clamped.
The box joints must fit evenly over the entire run and they must be not too tight (no space for glue) or too loose (weak, loose joints). The longer the run the greater the precision required.
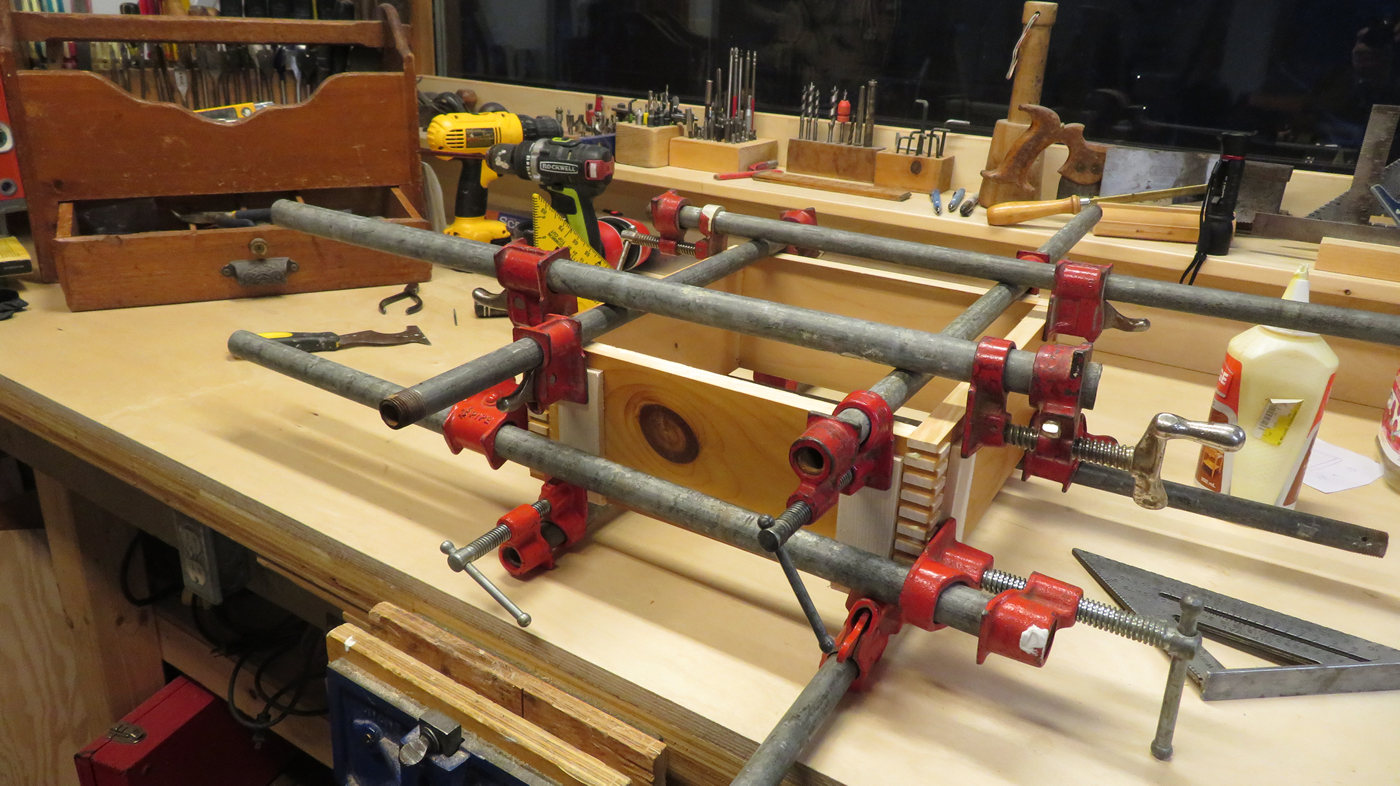
With box joints now cut on shipping box sides it's time to glue, assemble, and clamp.

Sturdy and secure.
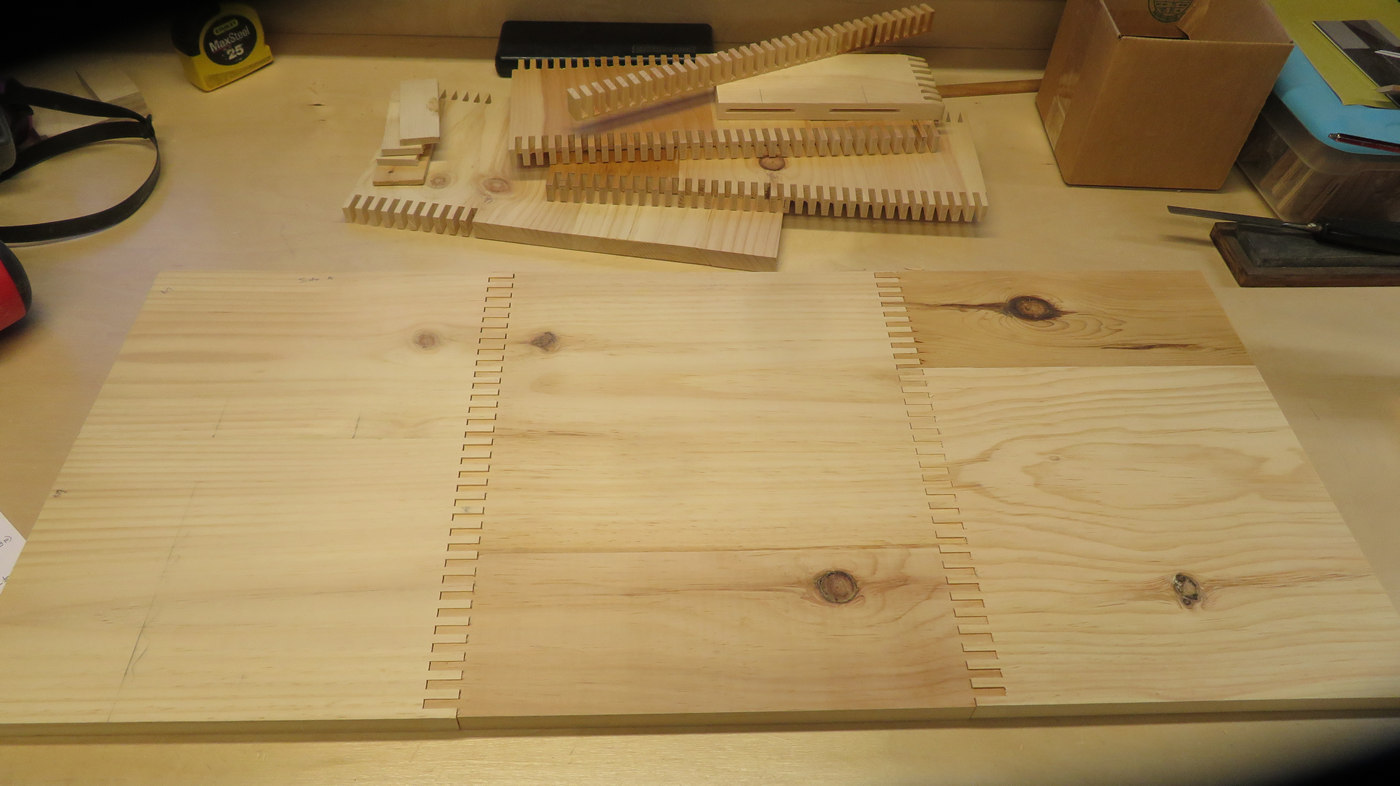
The jig worked well for the shipping box so I decided to use it to make a little case for some small drawers that were kicking around the shop.
Below on the workbench are the two sides and bottom of the case, box joints cut and meshed dry.
Project was completed with a raised-panel back on the case.
